- If you sign up using the button above, you’ll receive an additional $5 to $500 in free credits for the first time.
- This means if you sign up through our link and add $10, you’ll see at least $15 worth of credits.
- The additional free credit amount is randomized — meaning if you load $20 or $50, you may receive even more extra credits proportionally.
- This offer of extra free credits is only available for new users.
- If you’re already a RunPod user and want to avail this offer, try signing up with another Gmail ID.
- This software only runs on Chrome or Chromium based browsers. For Safari and Firefox users, please use Chromium based browsers for the best experience.
Deployment Instructions
You can also follow along with this video.
When you sign up through our link, you’ll be directed to this page. Click Sign up & Claim reward, and proceed to sign up using your Google ID.

After signing up, you’ll see your dashboard with your balance displayed at the top-left corner. For a new account, this will initially be zero.
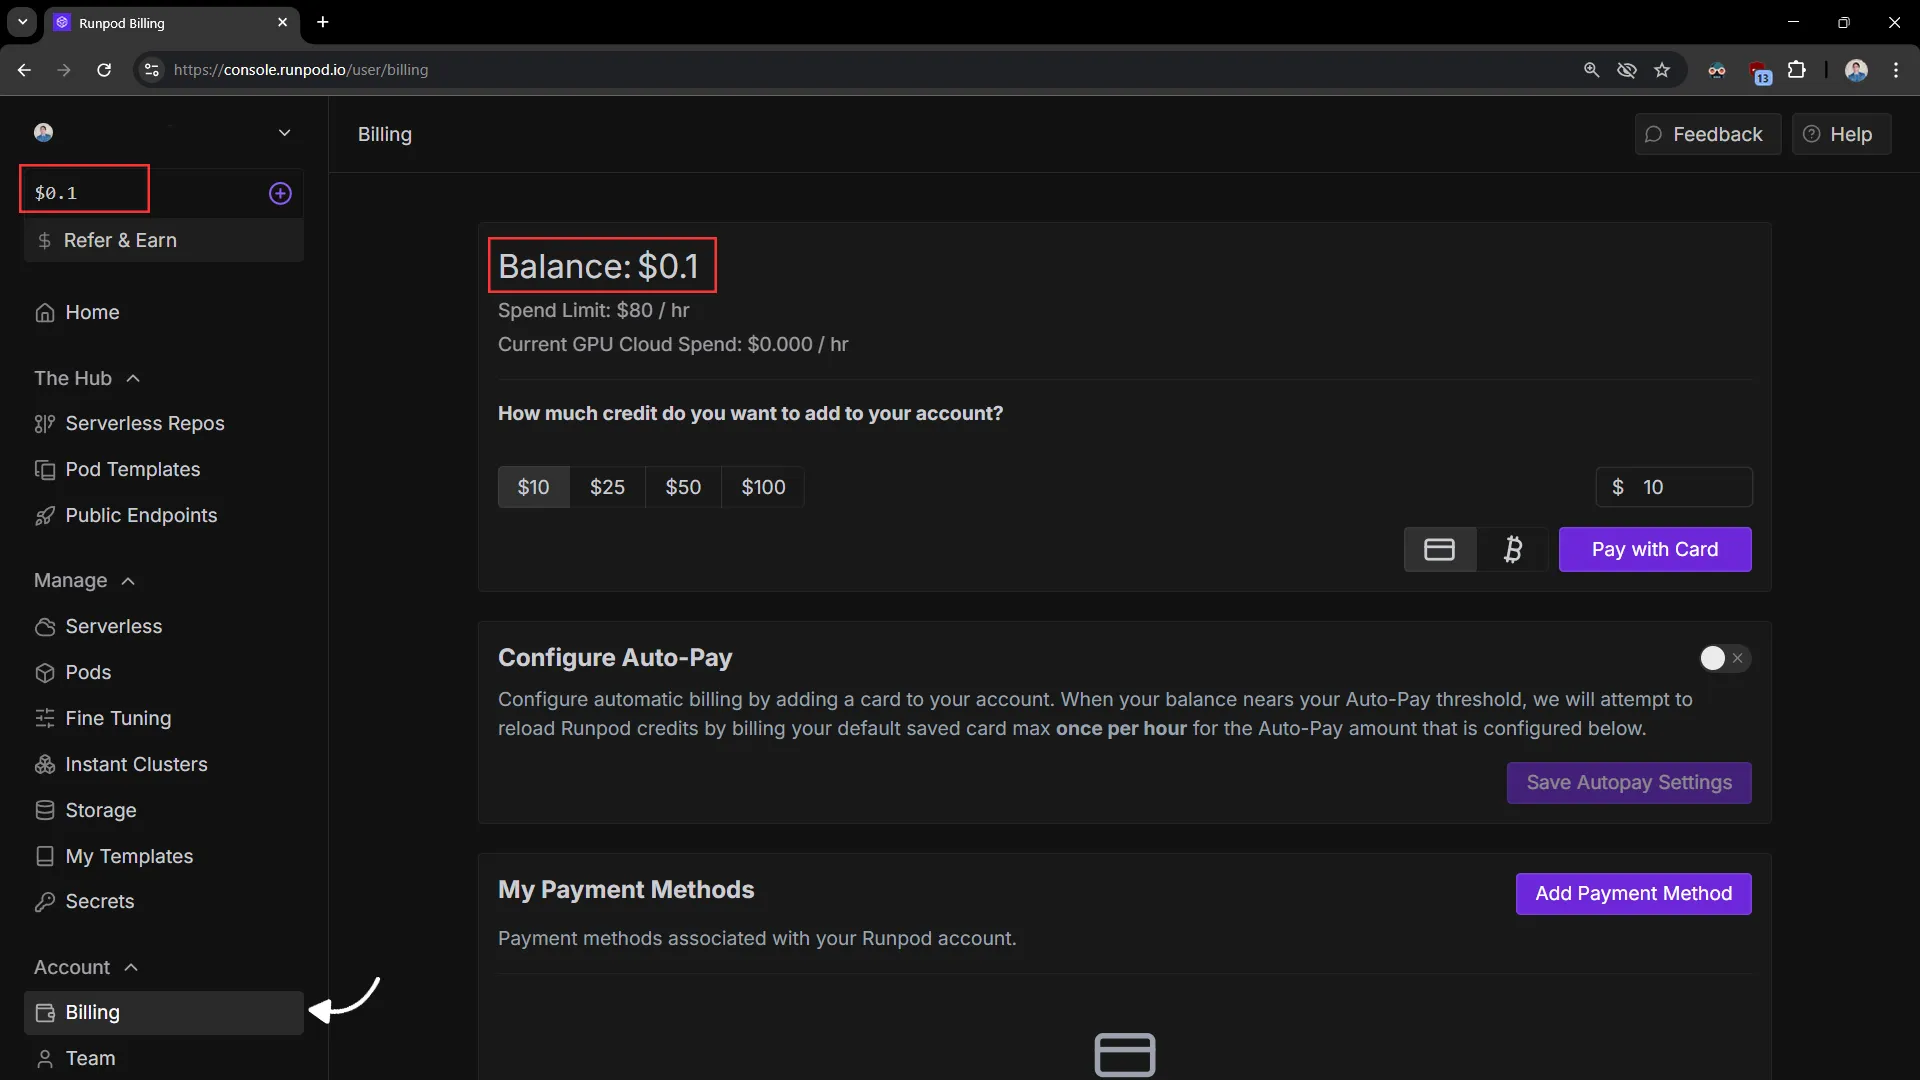
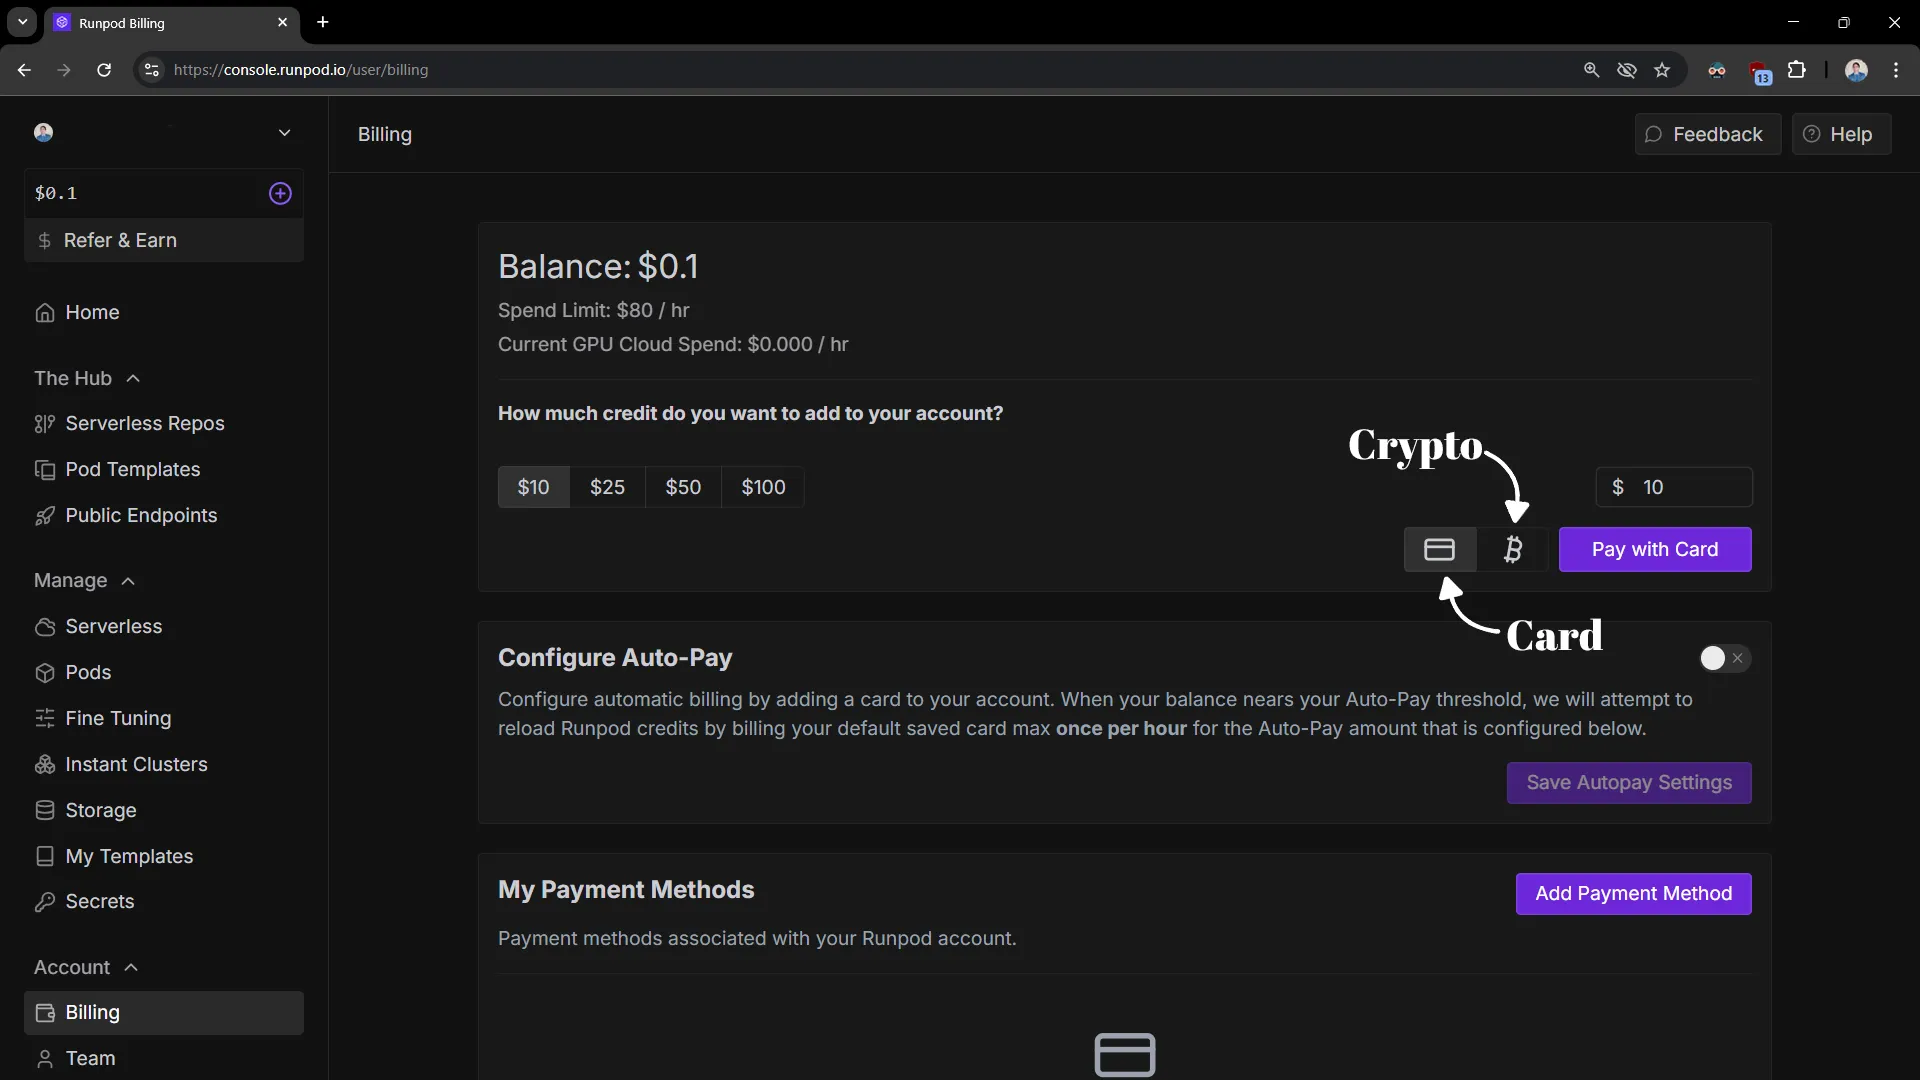
Click on the Billing section and choose your desired amount, starting from $10. You can pay using either a credit card or a crypto wallet.
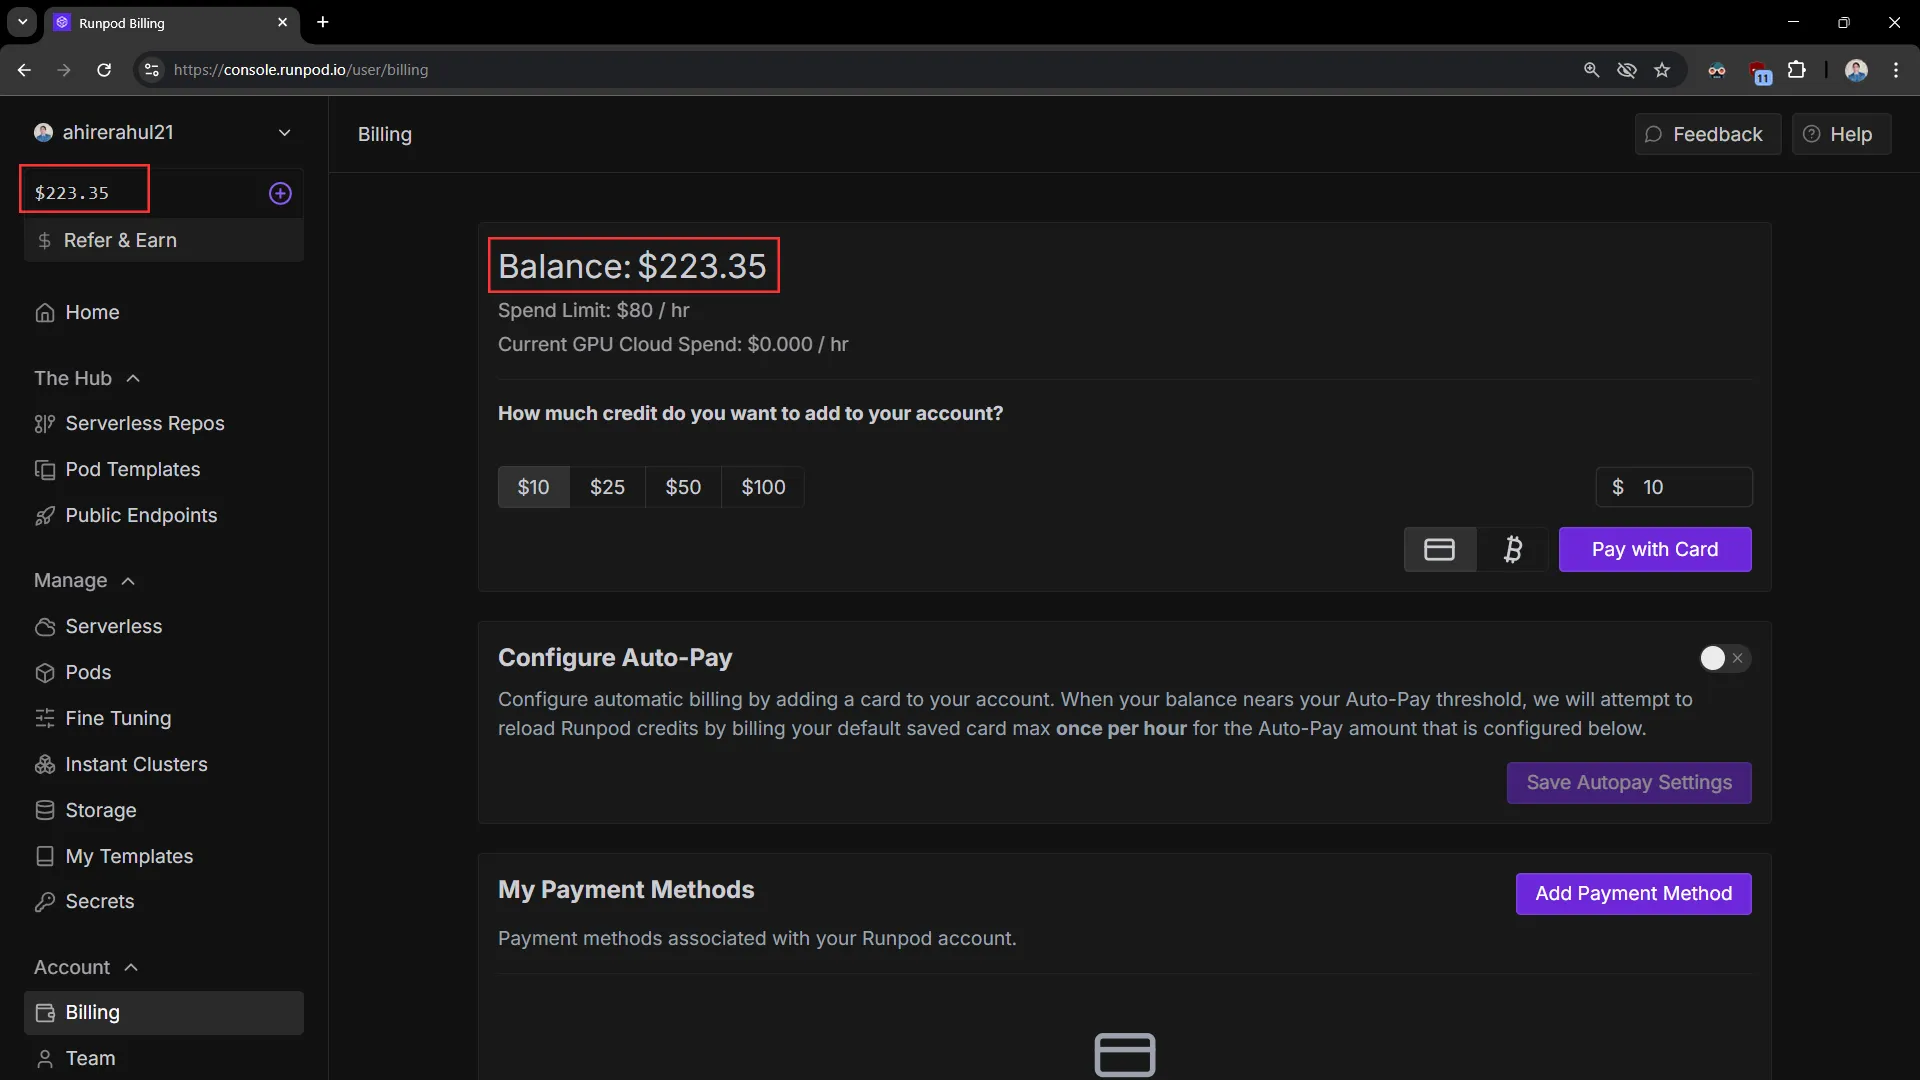
Once your payment is complete, your balance will update along with the extra free credits.
Next, click on Pods, and you’ll see two options: Secure Cloud and Community Cloud.

The differences between them are as follows:
| Secure Cloud | Community Cloud | |
|---|---|---|
| Description | Secure Cloud is managed directly by RunPod using its own GPUs and infrastructure in secure data centers. | Community Cloud is a distributed network of GPU instances located across the globe and may not reside in data centers. |
| Security | Security is ensured through various enterprise-grade compliance standards. Learn more about it here. | Security is offered on a best-effort basis and is not guaranteed like Secure Cloud due to its distributed nature. |
| Price | 20–30% more expensive than Community Cloud. | Lowest price option available. |
| Which to use | Use Secure Cloud for high-stakes projects where security and privacy are critical. | Use Community Cloud if your workload doesn't require enterprise-grade compliance or for casual projects. |
Which GPU Should You Choose
- For rendering, always go for RTX-based NVIDIA GPUs, as they perform best for this purpose.
- Recommended options include RTX 5090, RTX 4090, RTX 3090 and others.
- If you’re unsure which RTX GPU to choose, visit Blender Benchmark to compare GPU scores.
Deploying the Instance
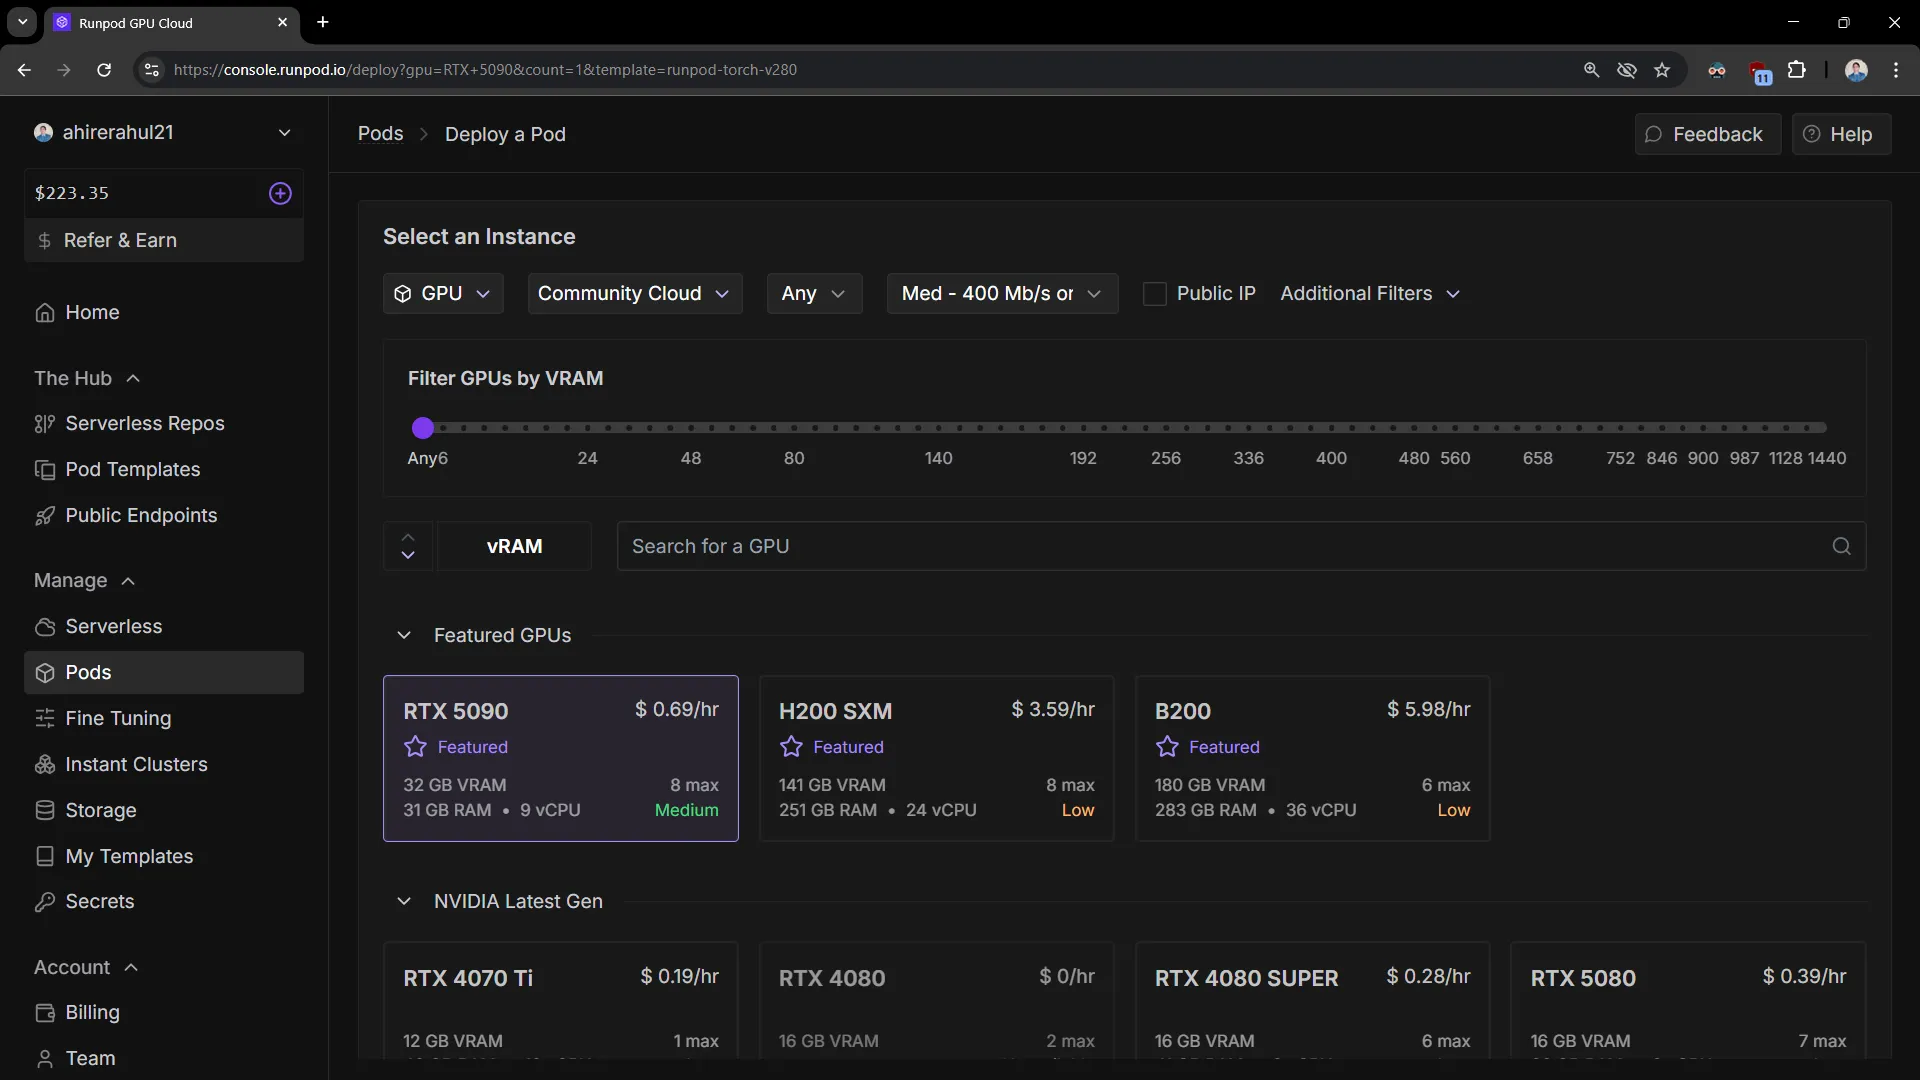
Let’s say we select RTX 5090 in the Community Cloud.
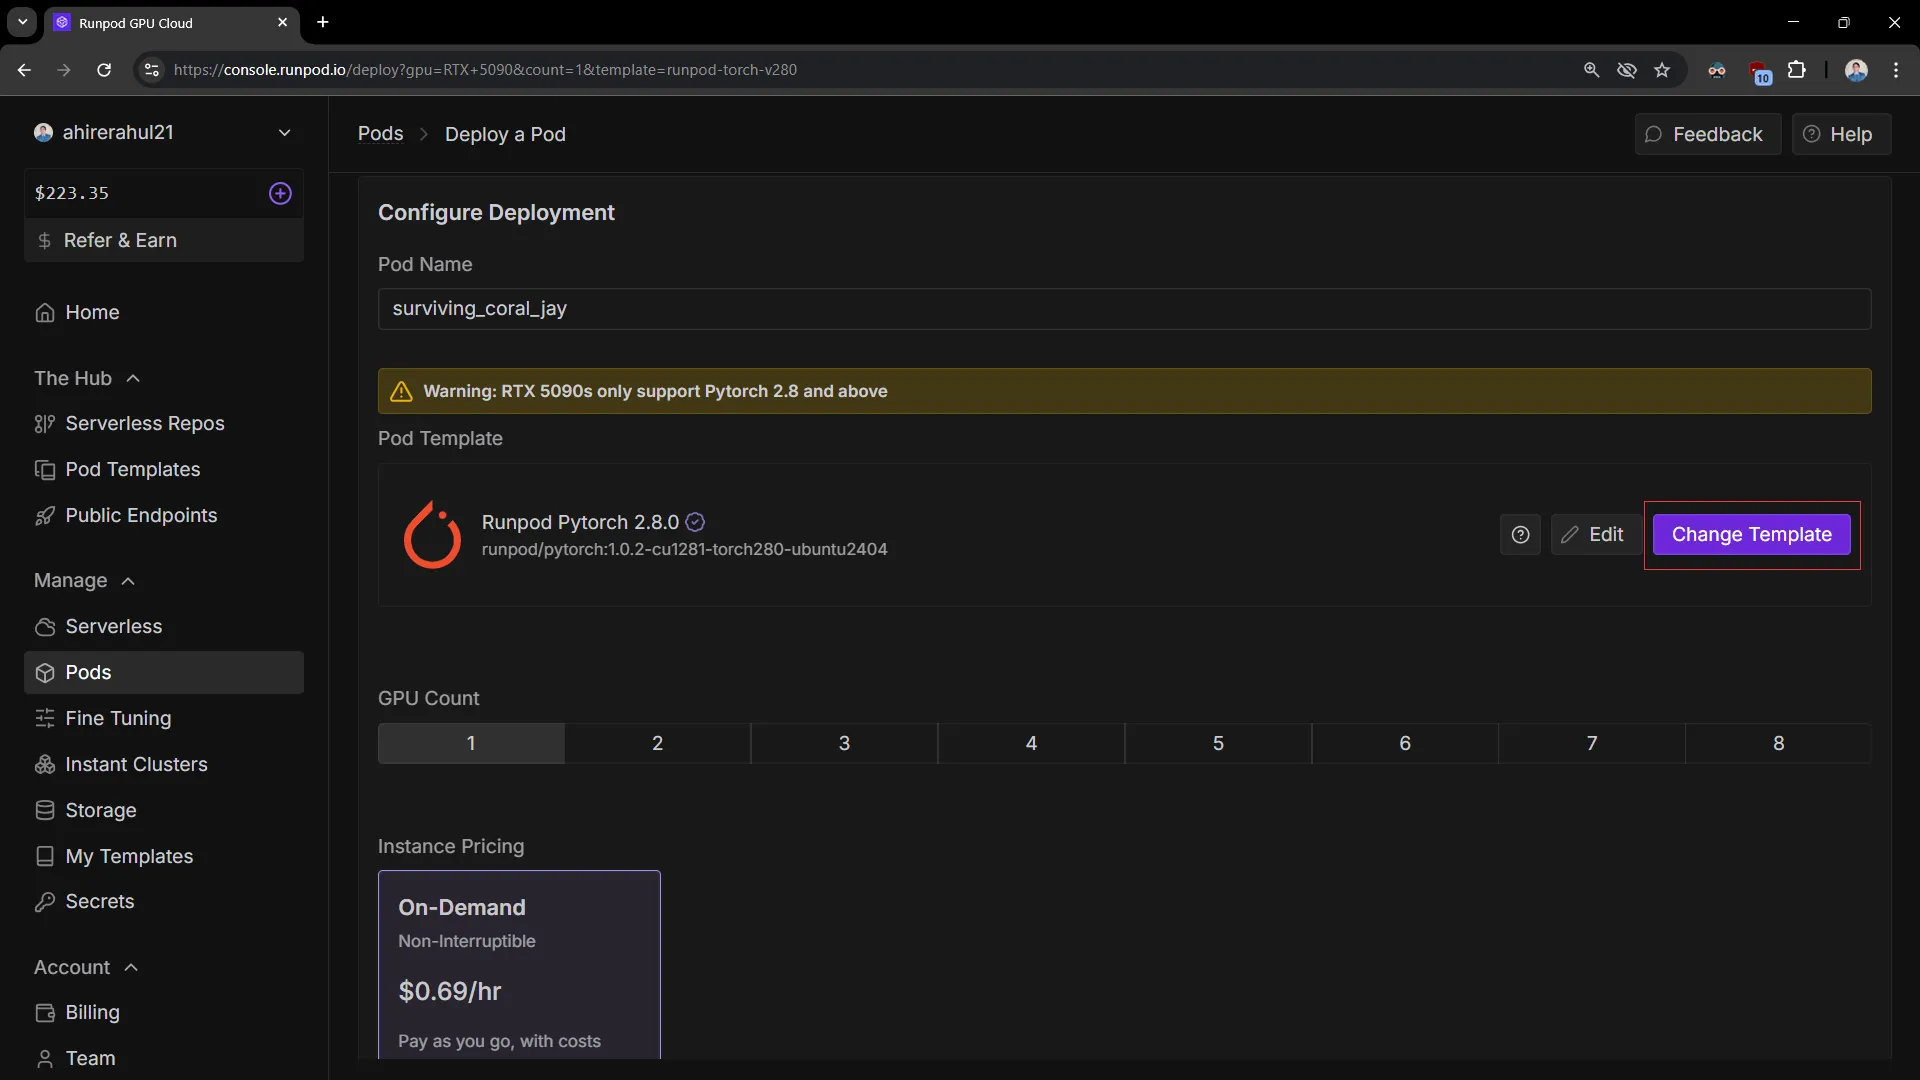
Click on Change the Template, as highlighted below.
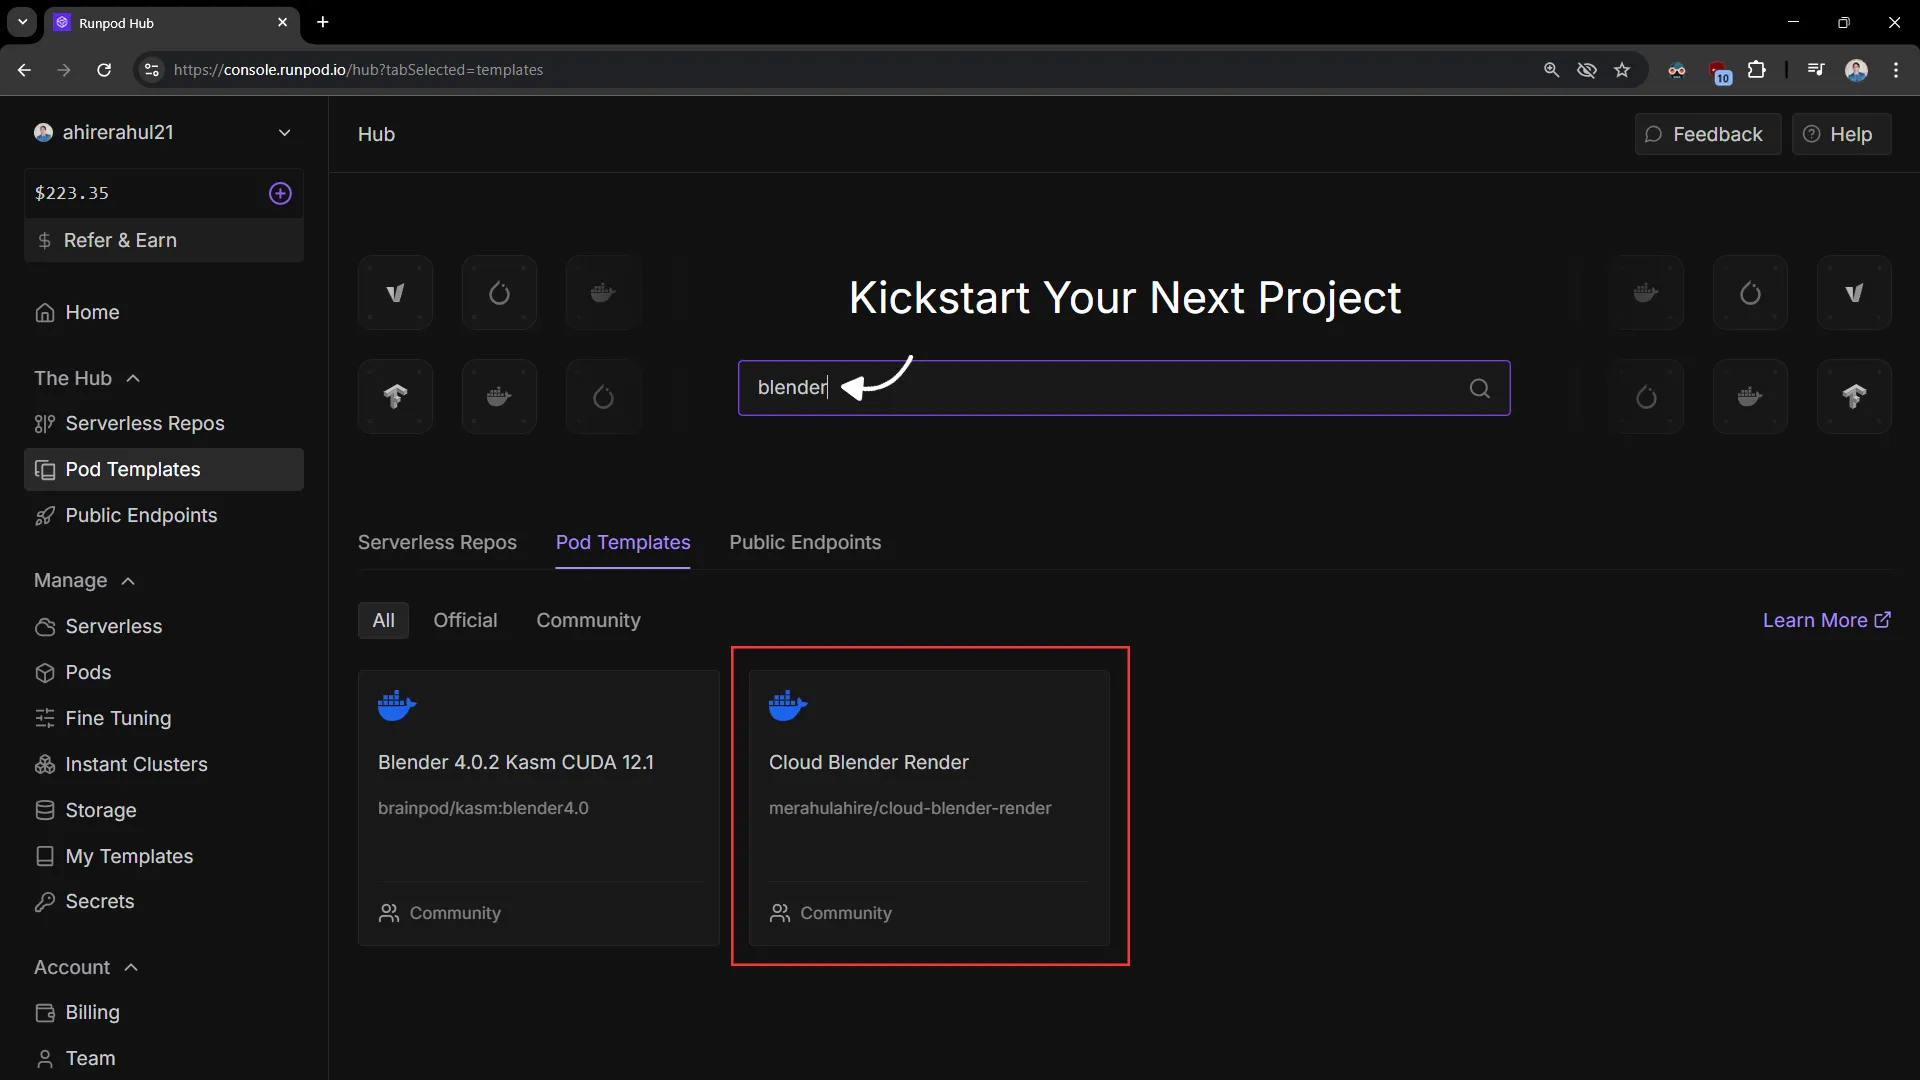
A dialog box will appear. Type "blender" and select the Cloud Blender Render template.
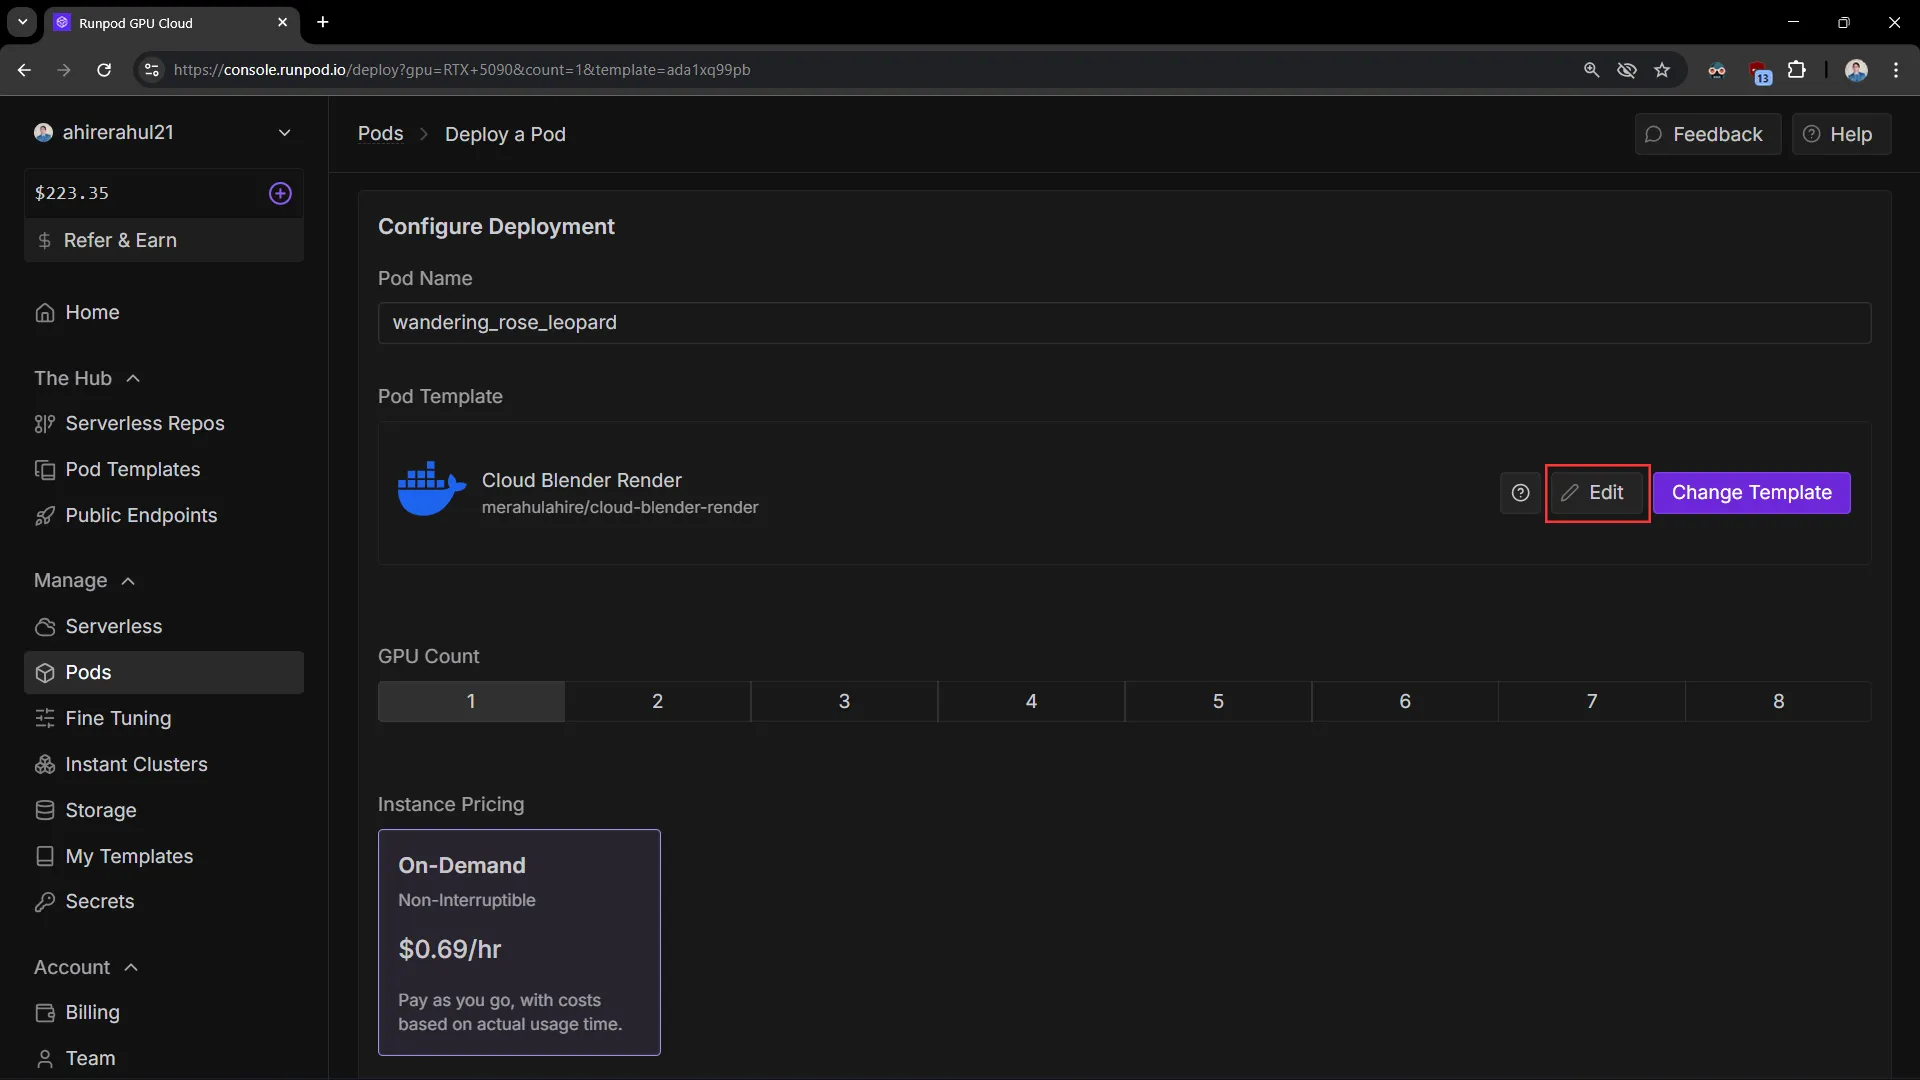
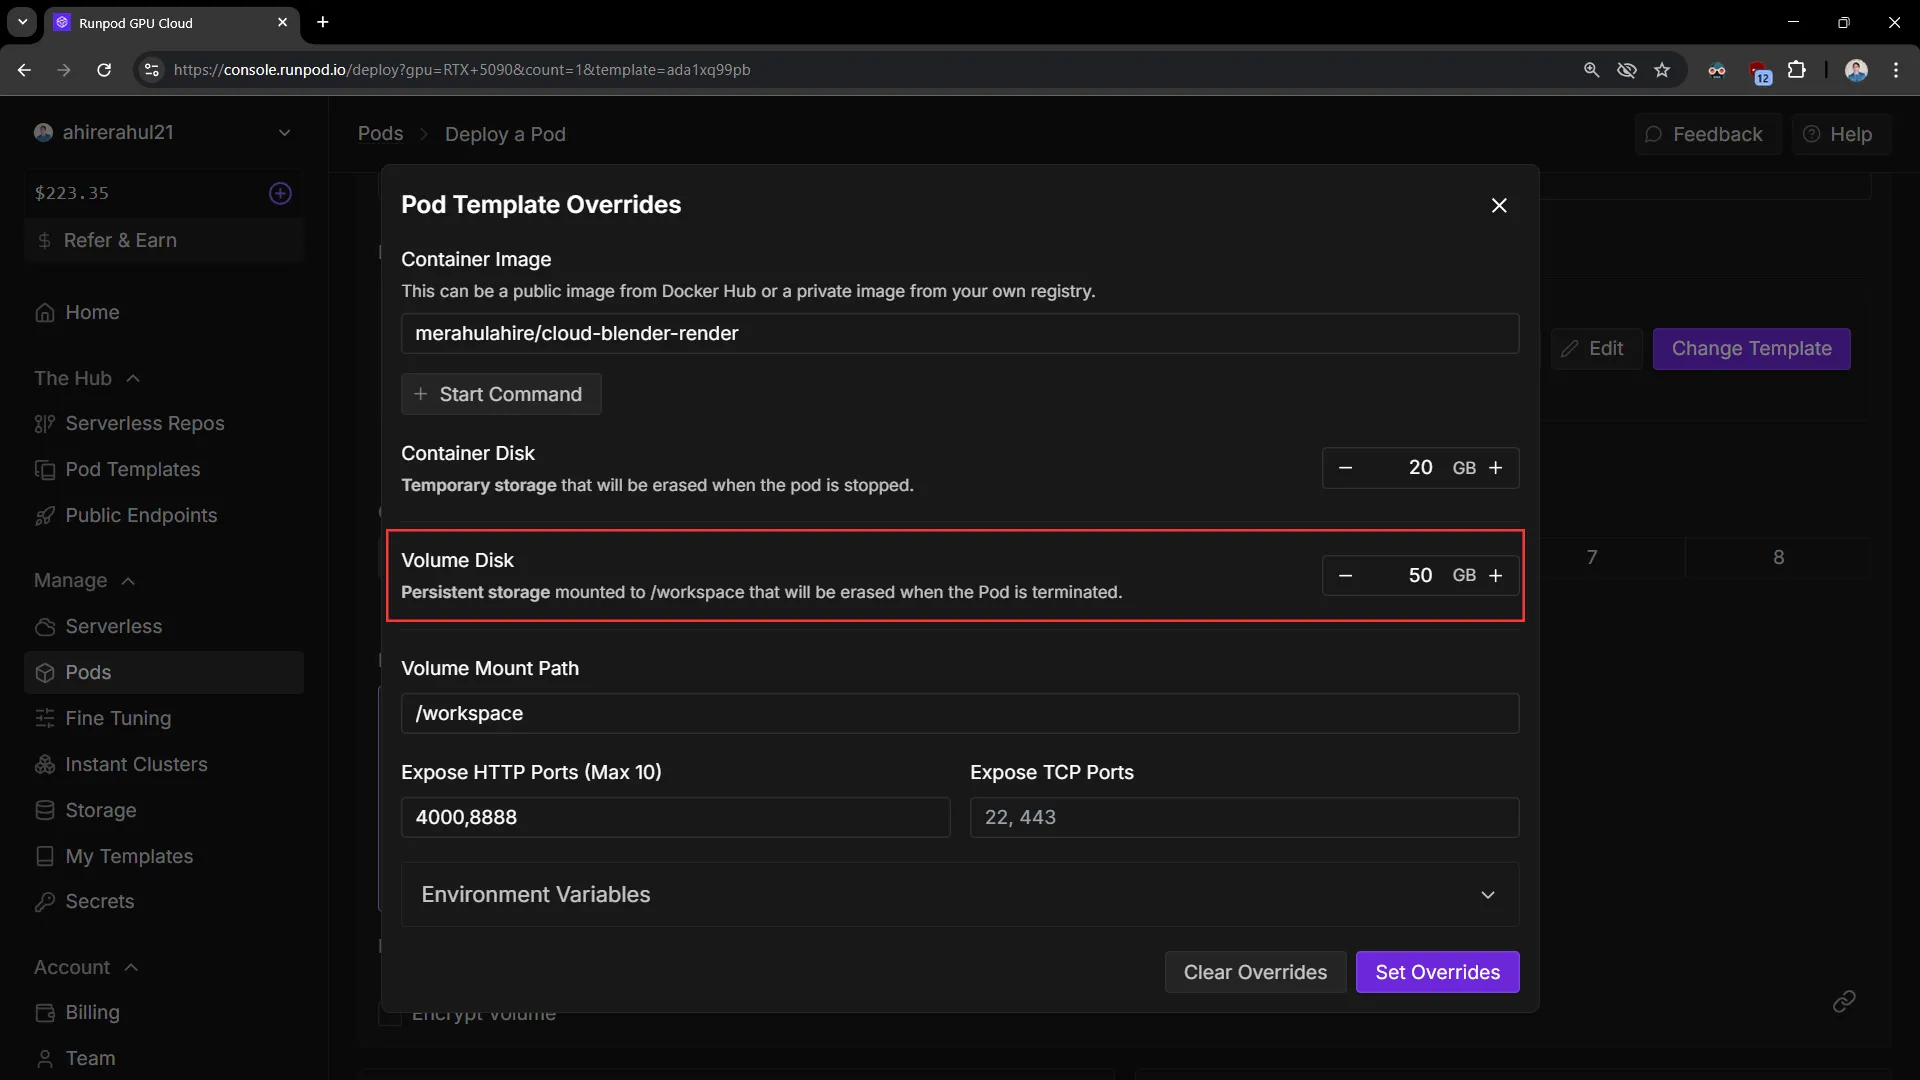
If you need more storage, click on Edit.
The default storage is 50 GB, but you can adjust it as needed and then click Set Overrides.
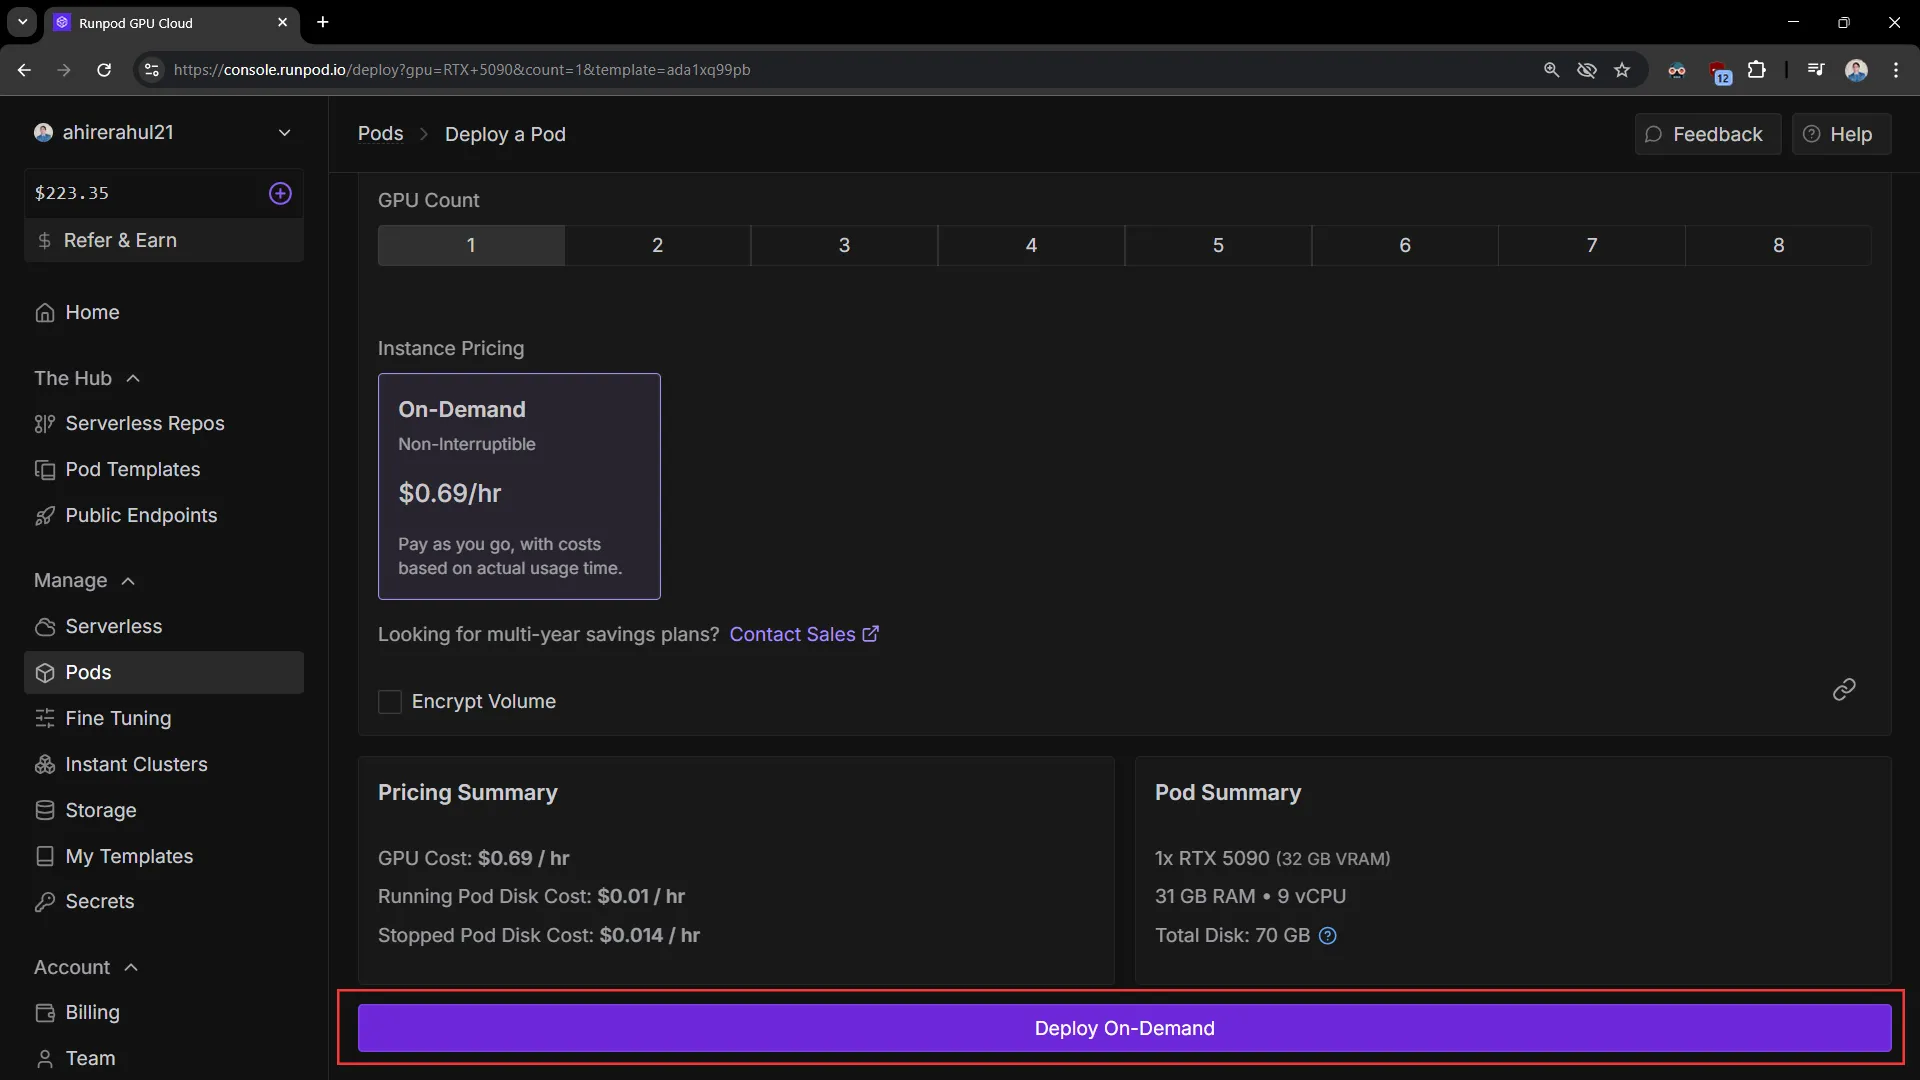
If you’re satisfied with the default settings, always choose On-Demand, which is selected by default. Avoid Spot Instances, as they are interruptible. Then click Deploy On-Demand.
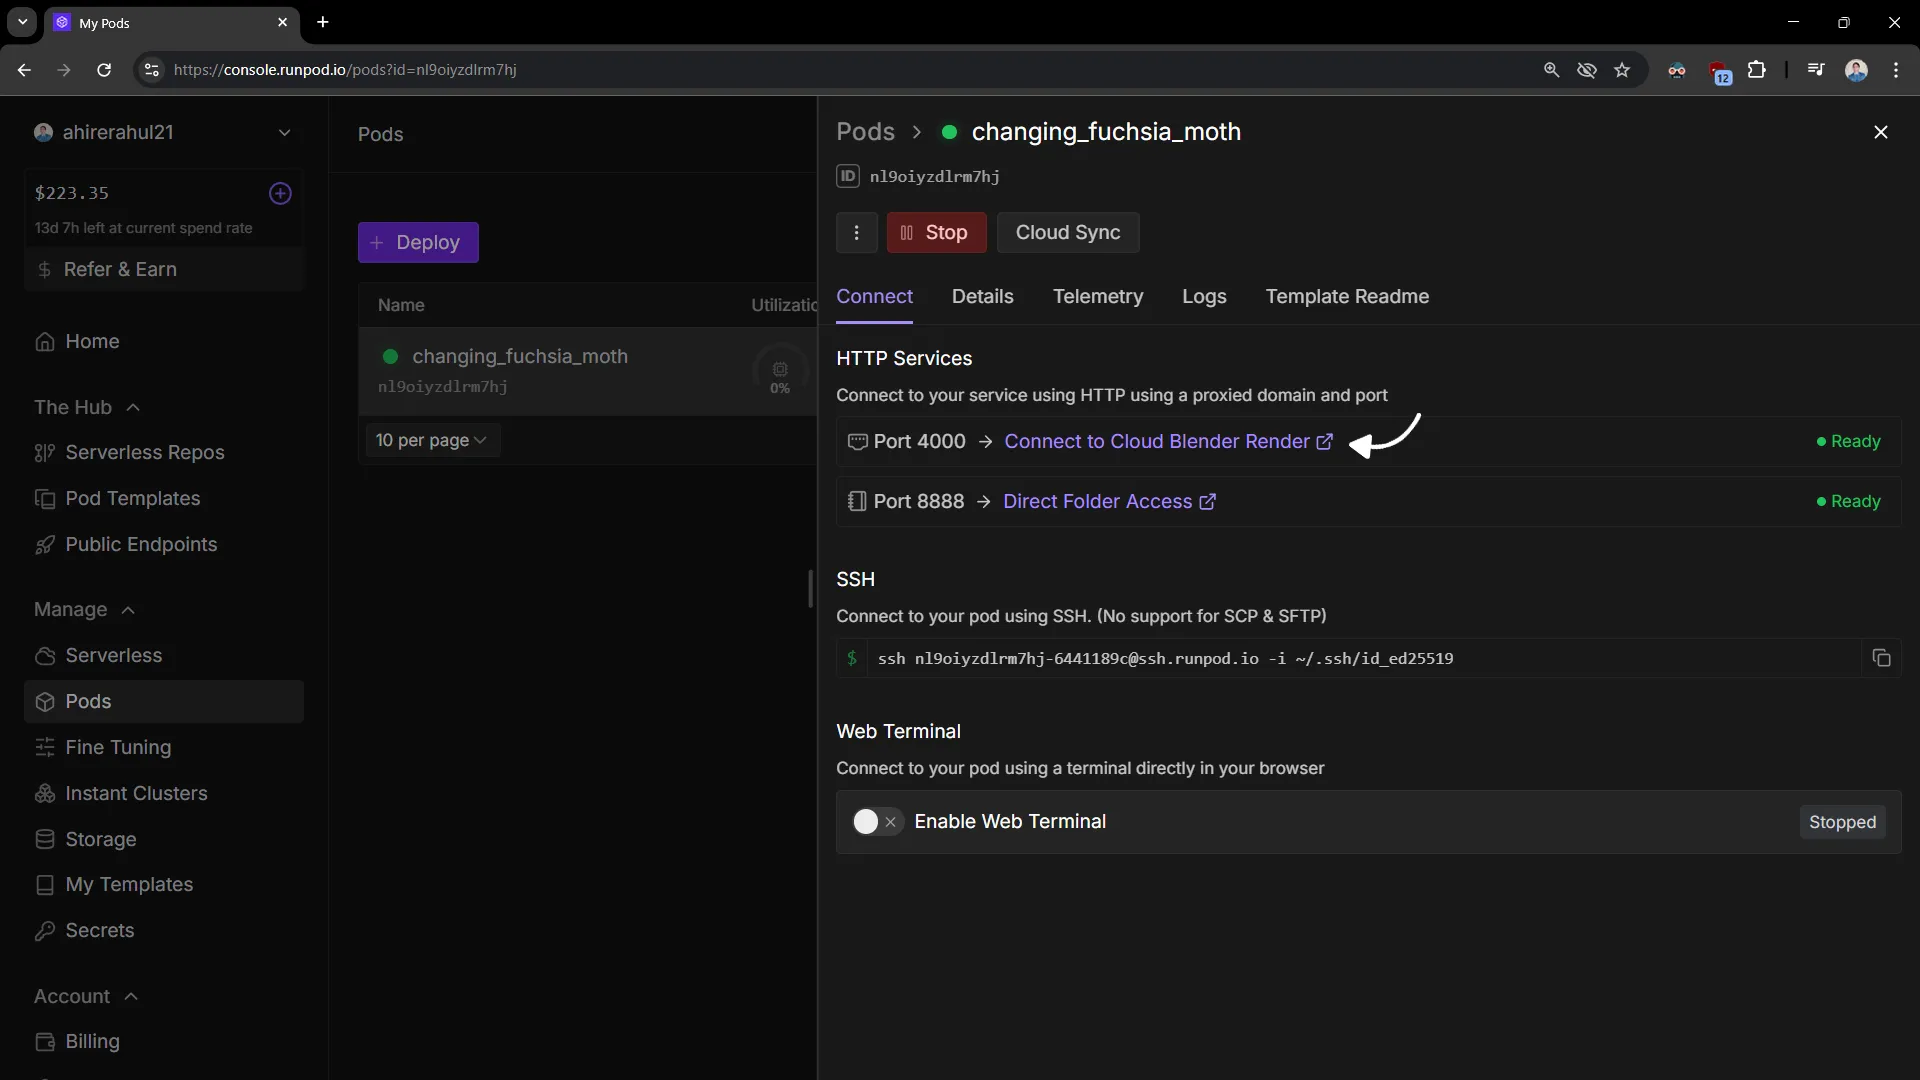
Wait for 1–2 minutes, and you should be good to go. Click Connect to Cloud Blender Render. If the instance takes too long to start, stop and terminate it, then create a new one.
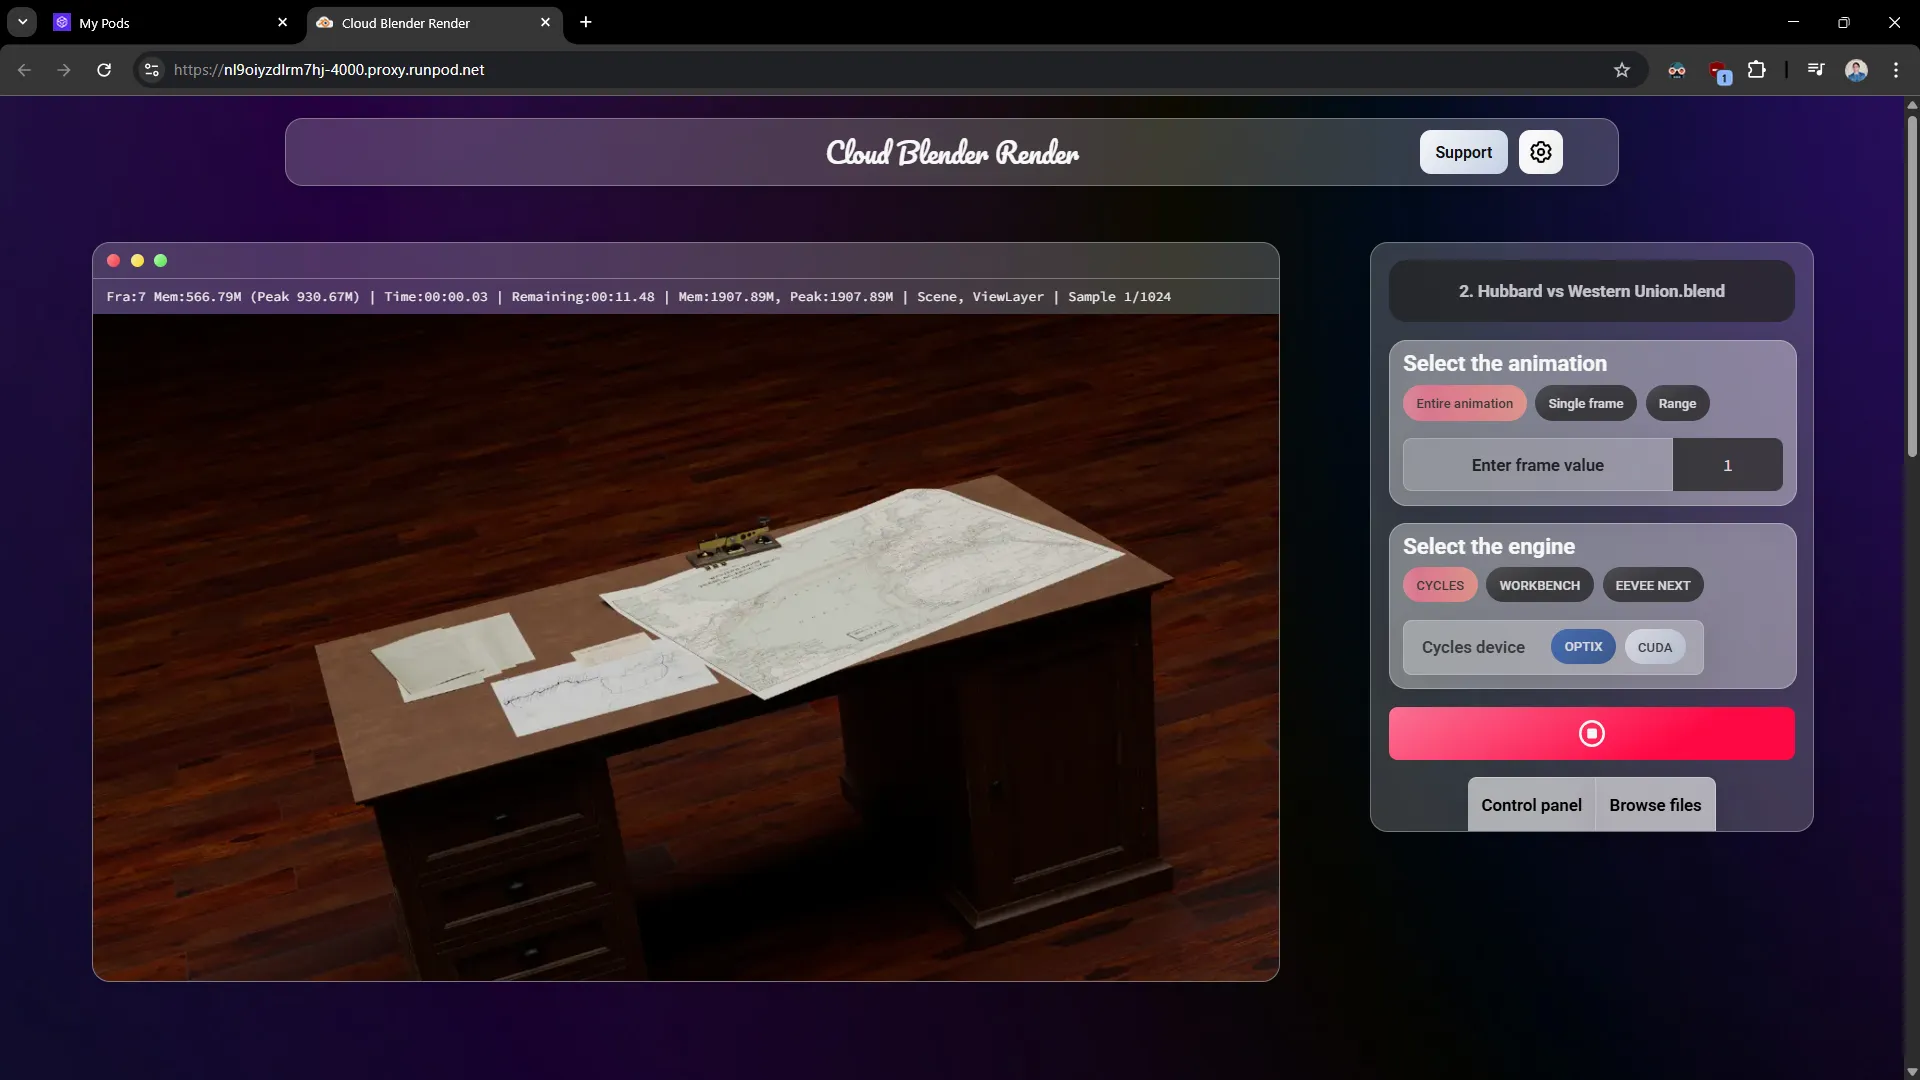
Now you’re all set! Upload your .blend file, choose your settings, and hit Render. For more details, please refer to the video above.
Additional Configuration
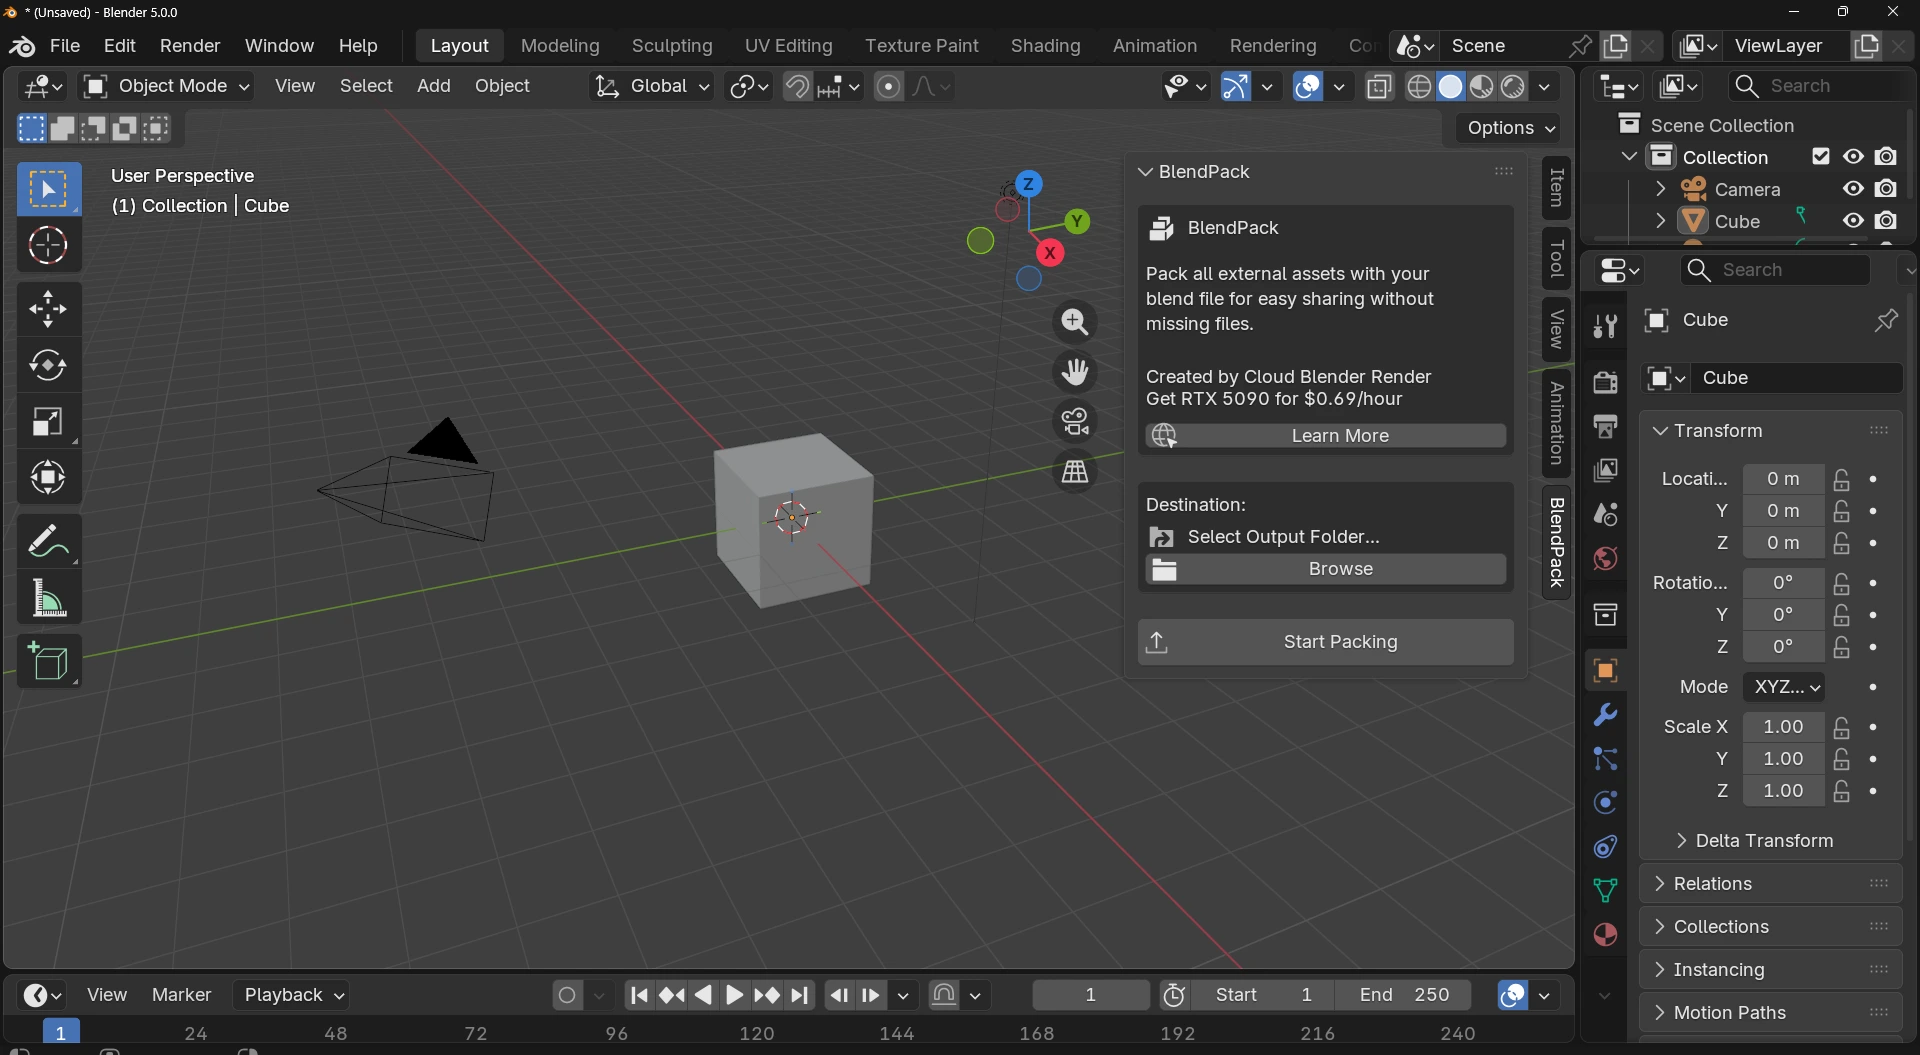
If you work with linked/external assets that can't be packed within the blend file like Video textures, VDB sequences, HDRI, IES, etc. then I've specially made this addon BlendPack for you. Please refer the above video for more information.
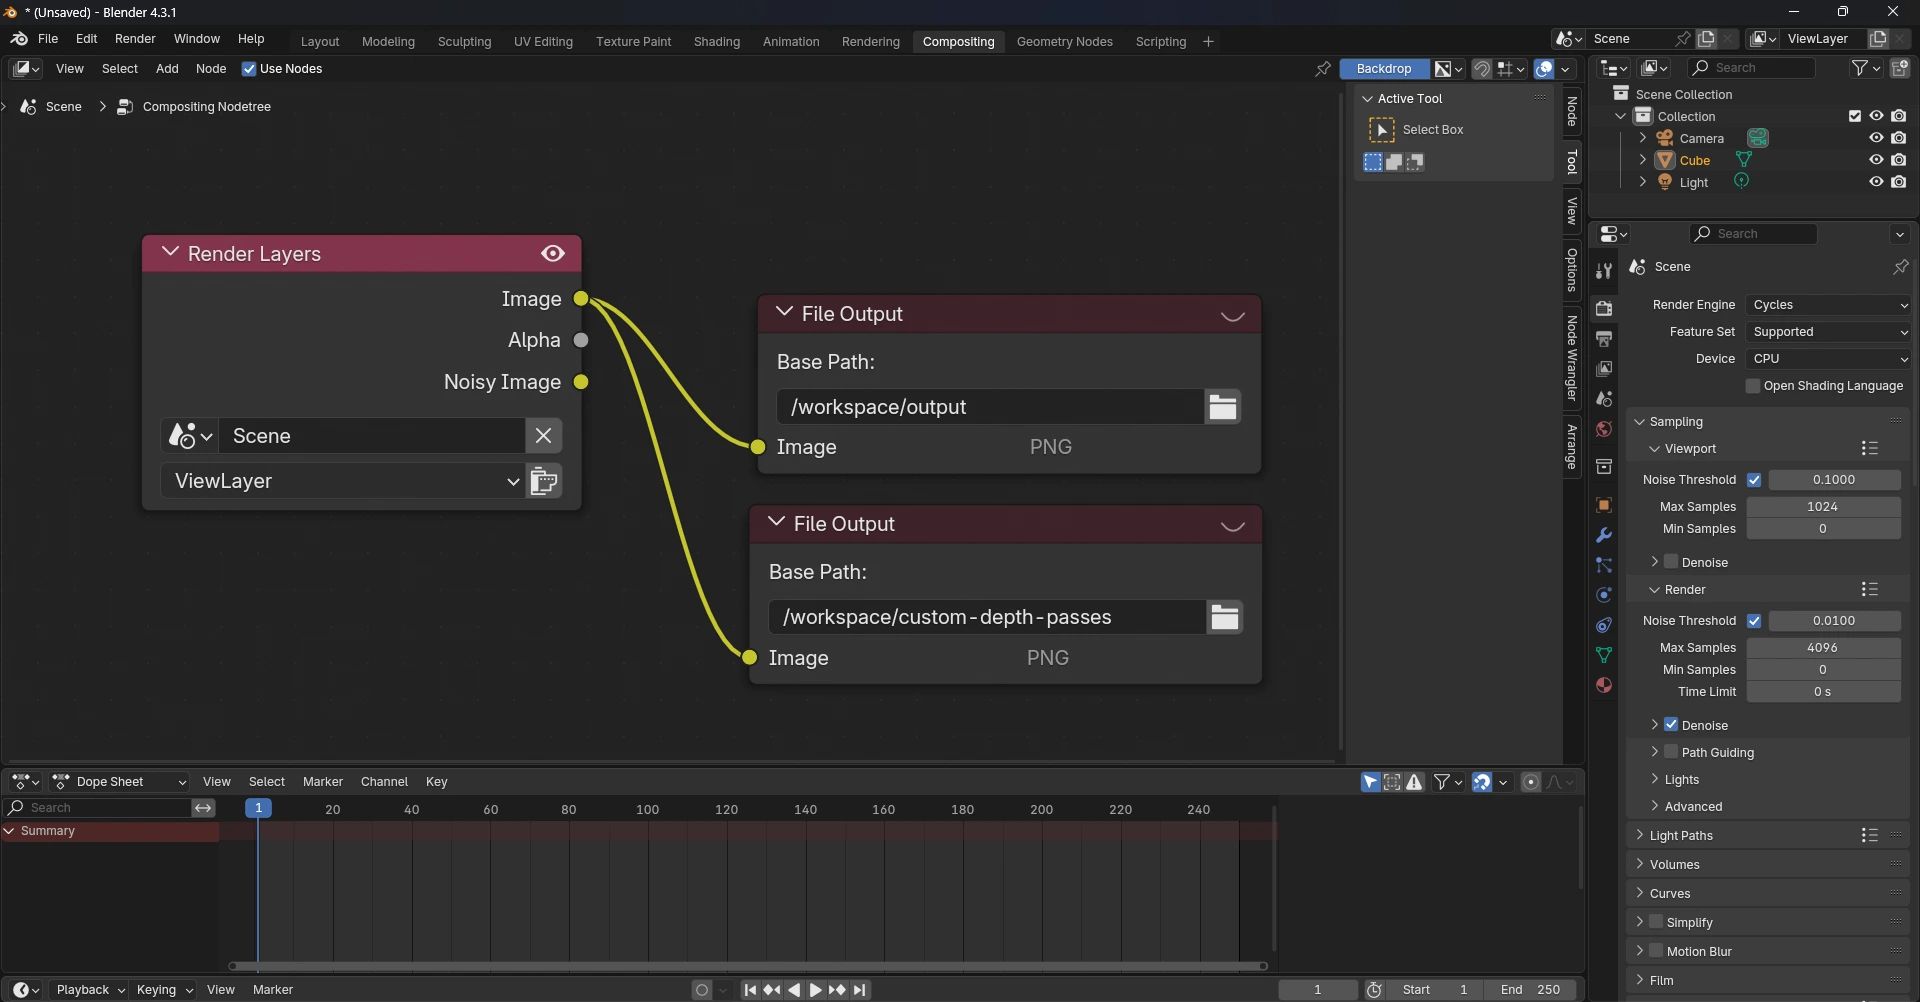
If you typically export render passes for VFX in Nuke or other compositing software, set the output location to /workspace/output or /workspace/your-folder-name so that it works correctly on Cloud Blender Render. Again, refer to the video for more details.
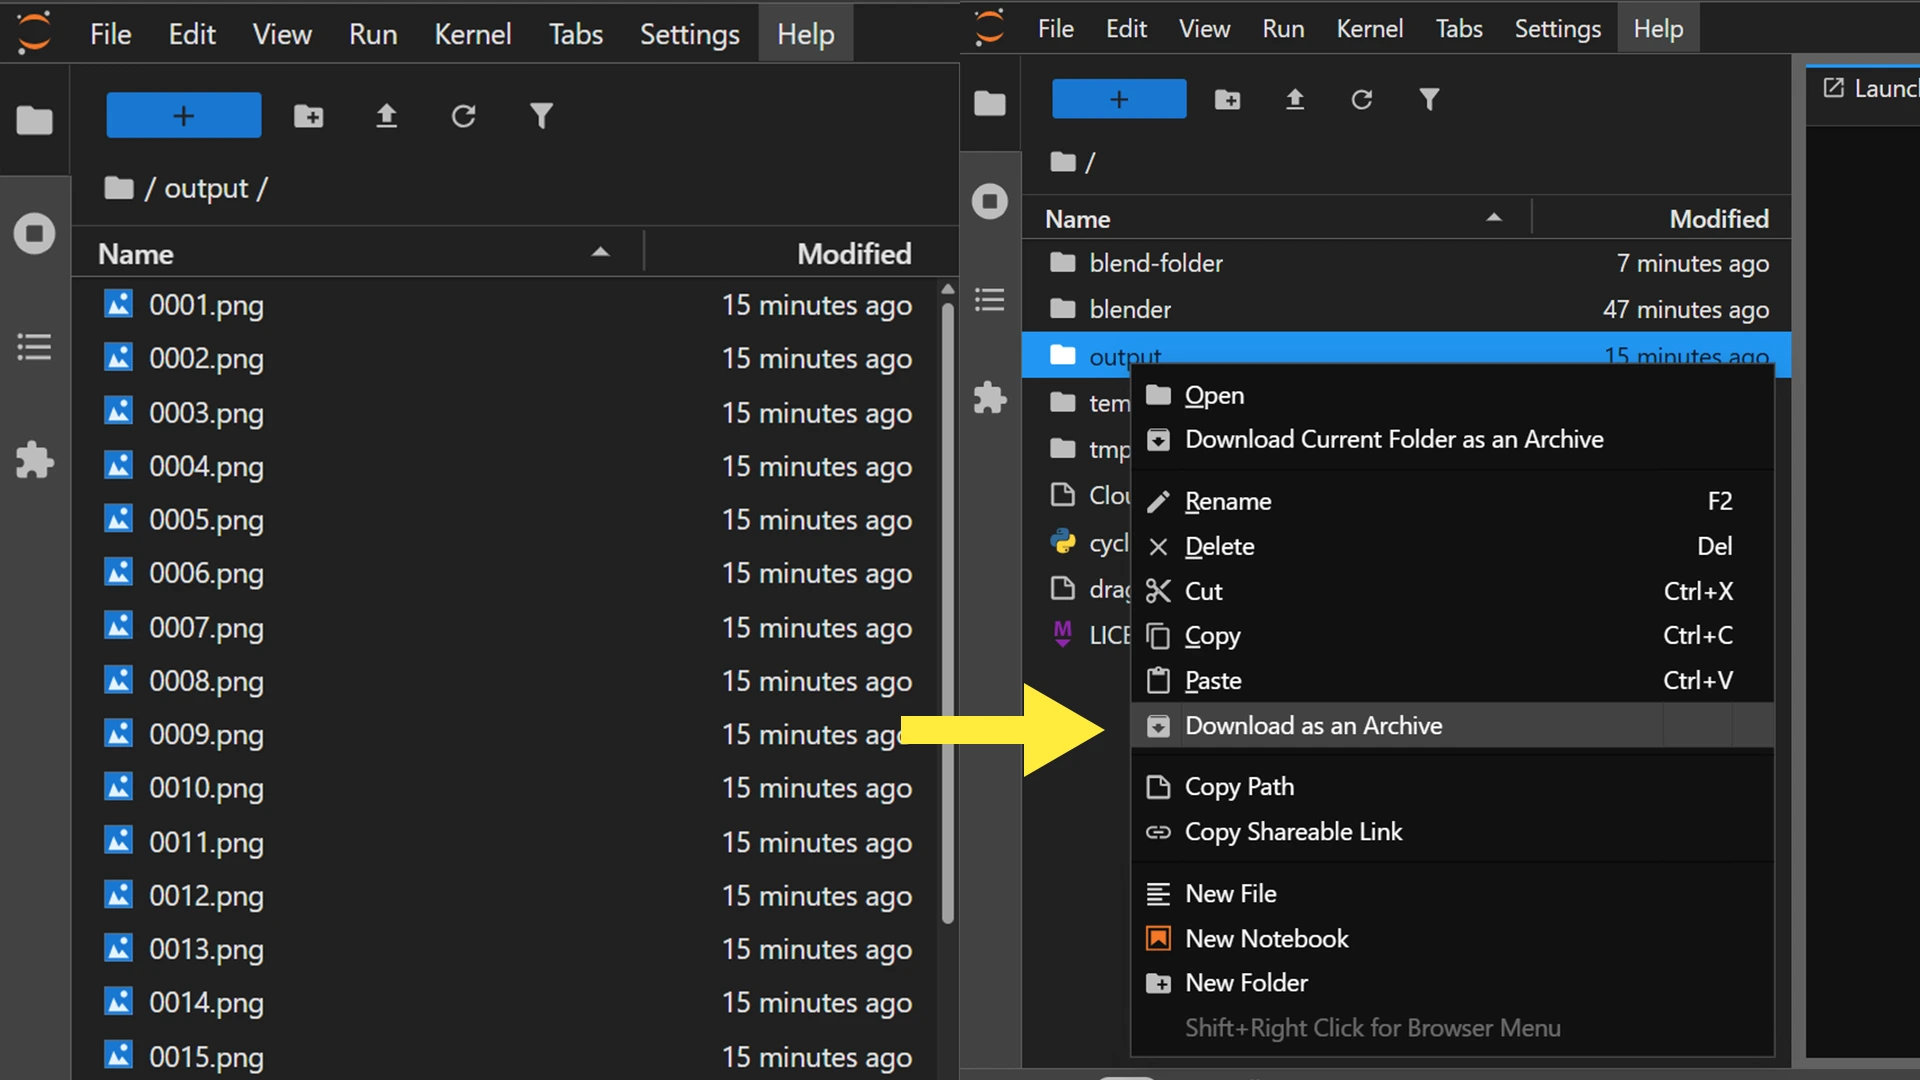
Once you’ve finished rendering or compositing, right-click and select Download as Archive.
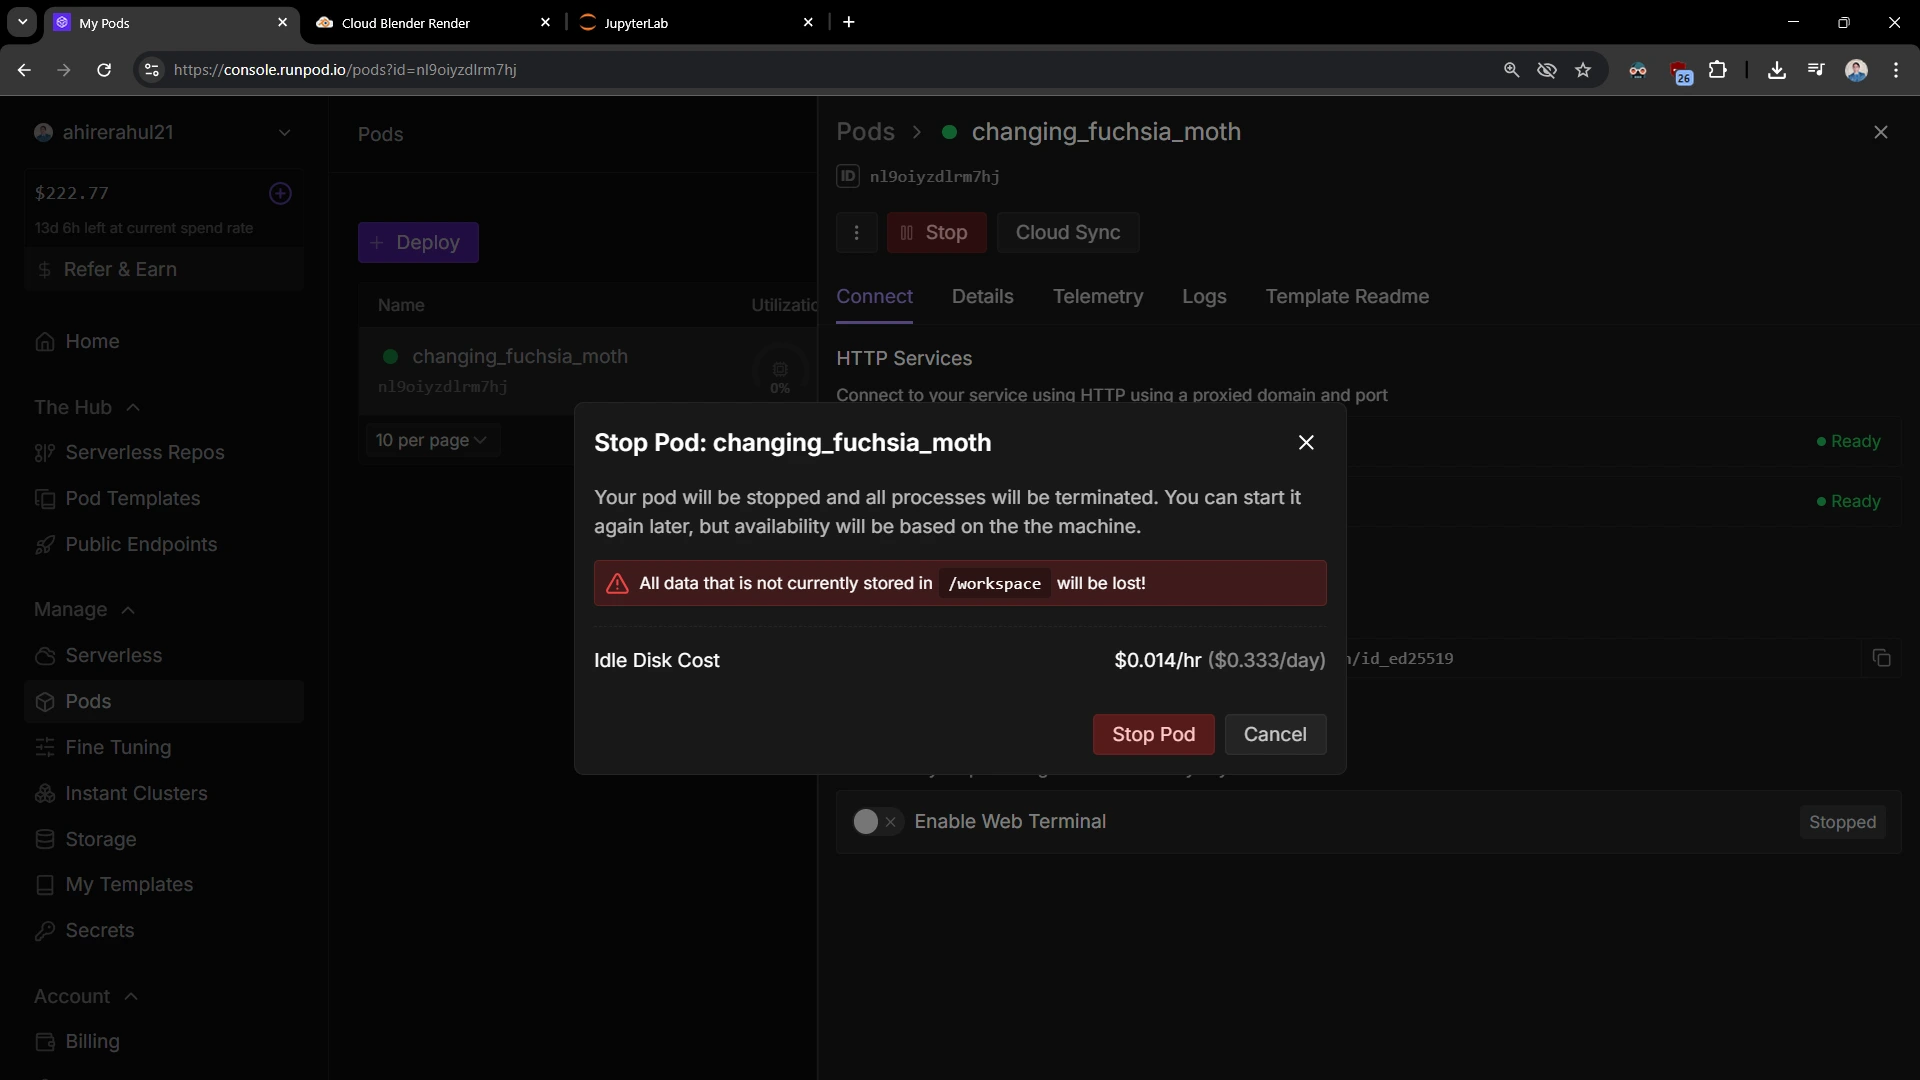
Finally, once your work is done, stop and terminate the instance. If you wish to pause work and save files for later access, stop the instance but do not terminate it. This way, you’ll only be charged for storage, not for GPU usage.